

Houses leak. Cold winter drafts, dust streaks above baseboards, and the "this room is always stuffy" complaint are all symptoms of uncontrolled air exchange between inside and outside. The standard metric is ACH50: air changes per hour at 50 pascals of induced pressure difference, measured by a blower-door test. A pre-1980 home typically registers 15-30 ACH50; 1990s construction sits at 7-10; current IRC code requires ≤5 (≤3 in colder zones); Energy Star targets 3-5; Passive House requires ≤0.6. Lower is tighter.
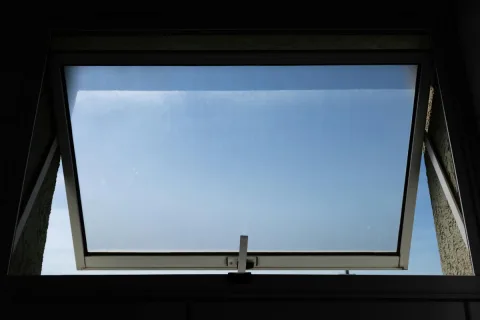
Why air tightness matters for IAQ. A leaky envelope lets in uncontrolled ventilation: cold air at the floor in winter, hot humid air at the ceiling in summer, outdoor ozone on bad-air days (see reducing ozone exposure), wildfire smoke during events, radon from the soil (see radon), and dust from the attic and crawlspace. None of that air has been filtered, conditioned, or chosen. Tightening the envelope replaces uncontrolled infiltration with controlled ventilation: an ERV or HRV that decides when and how much outside air enters and pre-conditions it on the way in.
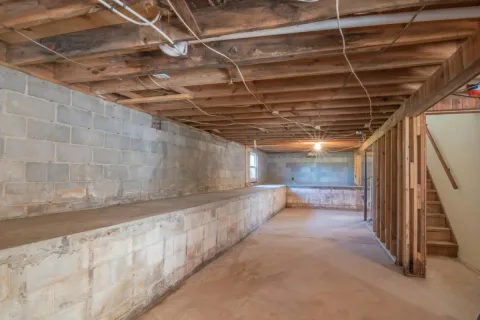
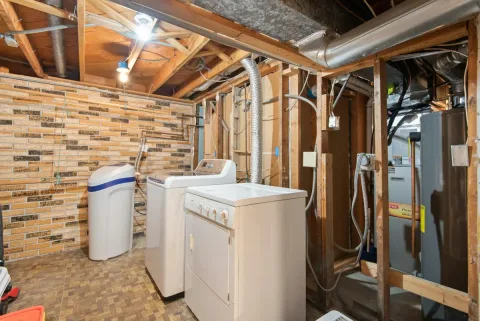
Common leak paths, ranked by typical contribution: rim joists and band joists (where floor framing meets the foundation; often 20-30% of total leakage in older homes), attic penetrations (recessed lights, plumbing stacks, electrical conduits, attic hatch), ductwork in unconditioned spaces (10-30% of HVAC air can leak out before reaching rooms), plumbing and electrical penetrations through plates and walls, fireplaces and chimneys without dampers, and windows and doors (less than most homeowners assume; weatherstripping fails but the perimeter is small). DIY work covers caulk, foam, weatherstripping, and basic attic-hatch insulation; professional weatherization handles rim joists, ducts, and major envelope work.
The seal-then-ventilate sequence. Tightening without adding ventilation is the failure mode that creates the "I weatherized my house and now it feels stuffy" complaint, and it is exactly what drives CO2, humidity, and VOC stagnation. The right sequence: blower-door test to find leaks, seal aggressively (target ACH50 ≤5), then size mechanical ventilation to ASHRAE 62.2 rates (0.03 CFM per ft² of floor area plus 7.5 CFM per occupant). The DOE Weatherization Assistance Program subsidizes low-income retrofits; for everyone else, expect $1,500-5,000 for DIY-supervised weatherization and $5,000-15,000 for full professional work. See demand-controlled ventilation for the controlled-side companion and tradeoffs with energy for the heating-cost math.
This is general guidance, not a substitute for professional assessment of your specific home. Major interventions (HVAC redesign, sealing a leaky envelope, mold remediation, electrical work for fans or venting) should be done with a certified professional. For chronic problems that don't respond to the steps here, see when to call a pro.
References
- DOE - Weatherization Assistance Program www.energy.gov
- ASHRAE Standard 62.2 - Residential ventilation www.ashrae.org
- ENERGY STAR - Seal and insulate your home www.energystar.gov
- NIST - Building airtightness (blower door) www.nist.gov